“Lately, my coffee just doesn’t taste right.”
Have you ever felt that way?
If you’re truly after that perfect cup, relying solely on store-bought roasted beans may not cut it.
The answer is simpler—and more enjoyable—than you might think.
It lies in choosing green beans and roasting them yourself.
In this article, we’ll walk you through everything you need to know to start home roasting with confidence, even as a beginner.
Select your own beans, roast them with your own hands, and discover the flavor that suits you best.
This experience will deepen your love for coffee in ways you never imagined.
- Tips for identifying high-quality green beans and choosing the right varieties
- Step-by-step roasting instructions and beginner-friendly tools
- Best practices for storing roasted beans and preserving flavor
- How to explore different roast levels and appreciate the flavor and aroma shifts
Understanding and Choosing Green Coffee Beans
If you want to roast your own coffee at home, the first thing you need to understand is green coffee beans.
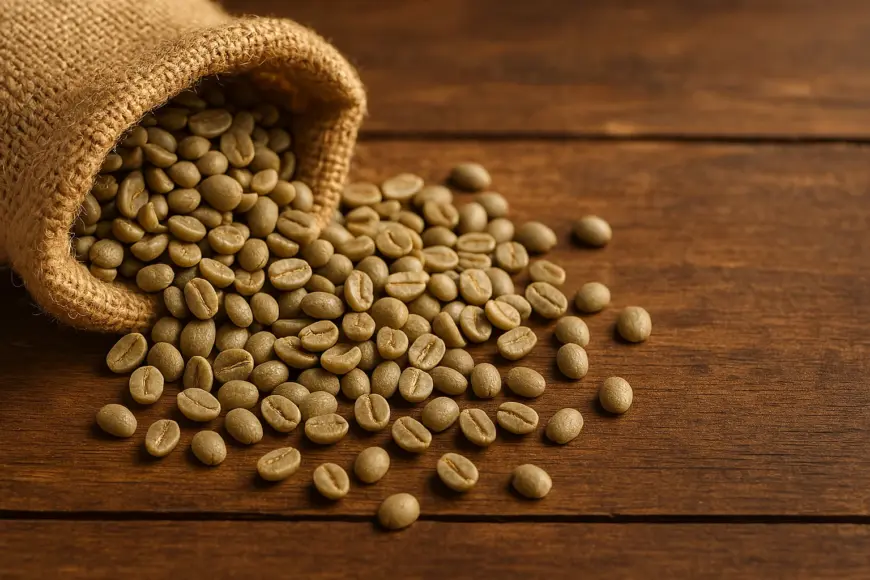
Unlike roasted beans, green beans are unprocessed and retain all of their potential flavors and aromas in a dormant state.
The beans you choose at this stage will have a major impact on the final taste and aroma, so selection is key.
Characteristics of Green Beans vs. Store-Bought Roasted Beans
First, let’s clarify the difference between green beans and store-bought roasted beans.
Green beans contain more moisture and are often pale green or bluish in color.
Since they haven’t been roasted, they oxidize and degrade very slowly, giving them excellent shelf life.
Roasted beans, on the other hand, begin to lose flavor and aroma the moment roasting ends.
Understanding these features explains why home roasting offers better flavor and freshness.
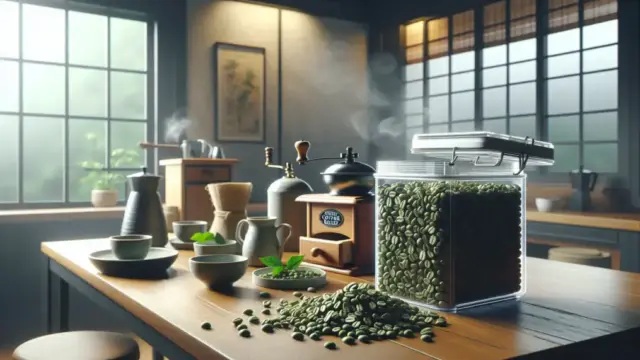
You can store green beans until you’re ready to roast, giving you full control over the timing of your perfect cup.
- Green beans are long-lasting and resistant to oxidation
- They appear greenish and have only subtle fragrance
- You can control the roast timing to ensure peak freshness
Your coffee journey doesn’t start with brewing—it starts with choosing the right green bean.
In fact, everything that follows depends on this very first decision.

How to Identify Quality Green Beans and Recommended Varieties
So how can you identify high-quality green beans?
The answer lies in three factors: appearance, aroma, and texture.
Look for uniform size with minimal chips or cracks.
There should be no moldy or strange smells—just a faint, grain-like sweetness.
When handled, the beans should feel firm and appropriately heavy.
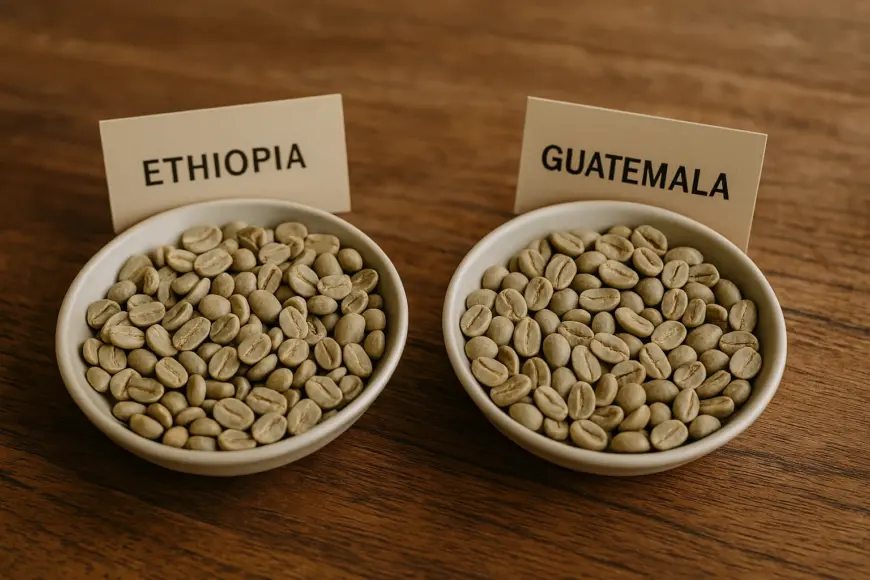
For beginners, we recommend naturally processed beans from Ethiopia or washed beans from Guatemala.
These varieties are easy to work with yet full of unique character—perfect for discovering the joy of home roasting.
- Check for uniform size and lack of damage
- Smell for freshness—avoid anything musty or off
- Feel for weight and firmness; they shouldn’t be rough or brittle
Once you begin to understand the nuances of origin and processing methods, the joy of choosing beans grows deeper.
The richness of coffee lies in these subtle, intentional choices.
Basic Steps for Home Coffee Roasting
Once you’ve got your green beans, it’s time to start roasting.
Home roasting is both simple and profound—it’s your gateway into a more aromatic and flavorful coffee experience.
In this section, we’ll walk you through the basic roasting process and introduce the essential tools for beginners.
Preparation and Tools You Need Before Roasting
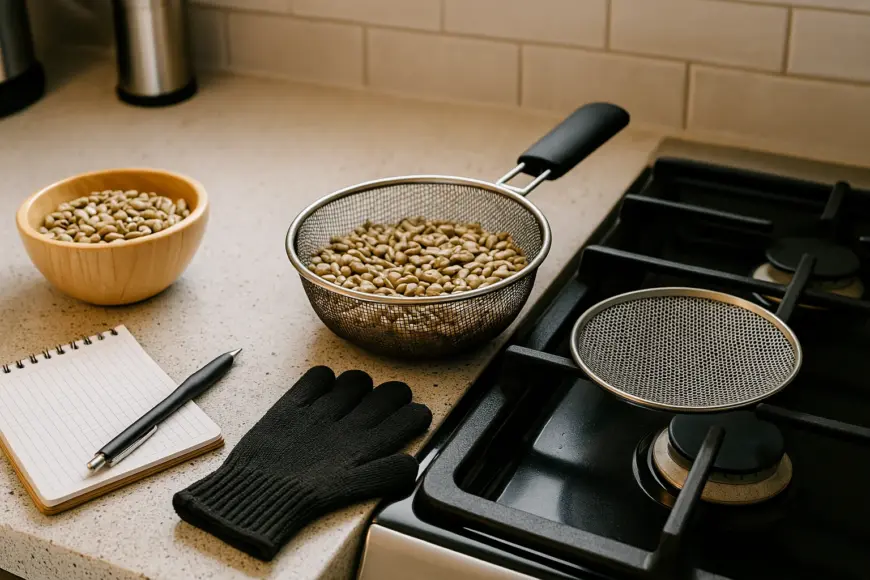
Before you begin, make sure you have the right tools on hand.
For a basic home setup, you don’t need anything fancy—just these essentials:
- A small mesh-hand roaster (or a frying pan as an alternative)
- Heat source like a gas stove or induction heater
- A colander or stainless tray for cooling
- Heat-resistant gloves to prevent burns
- Timer and notepad to track your roast
Always roast in a well-ventilated area—under a kitchen exhaust fan is ideal.
Once everything is set, it’s time to introduce heat and let the transformation begin.
Roasting Process and How to Control Roast Level
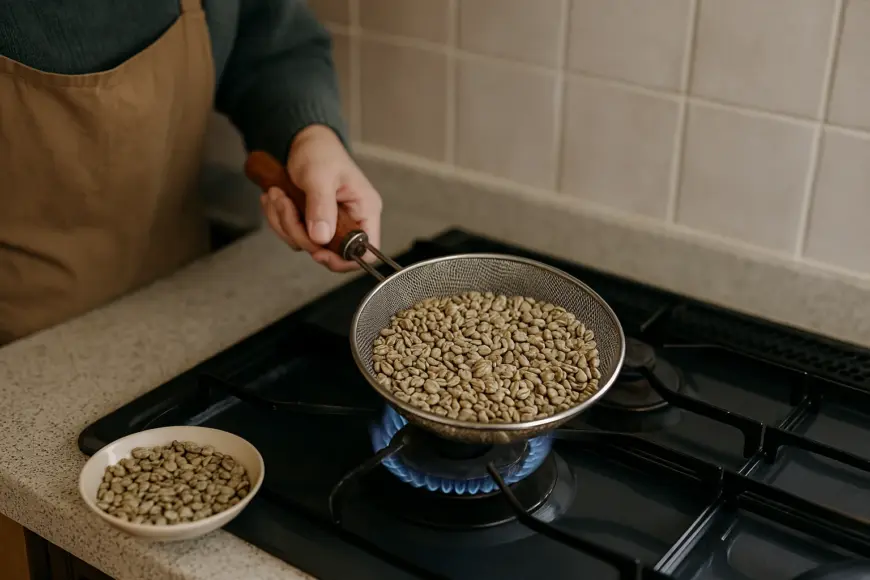
Roasting is all about managing time and heat.
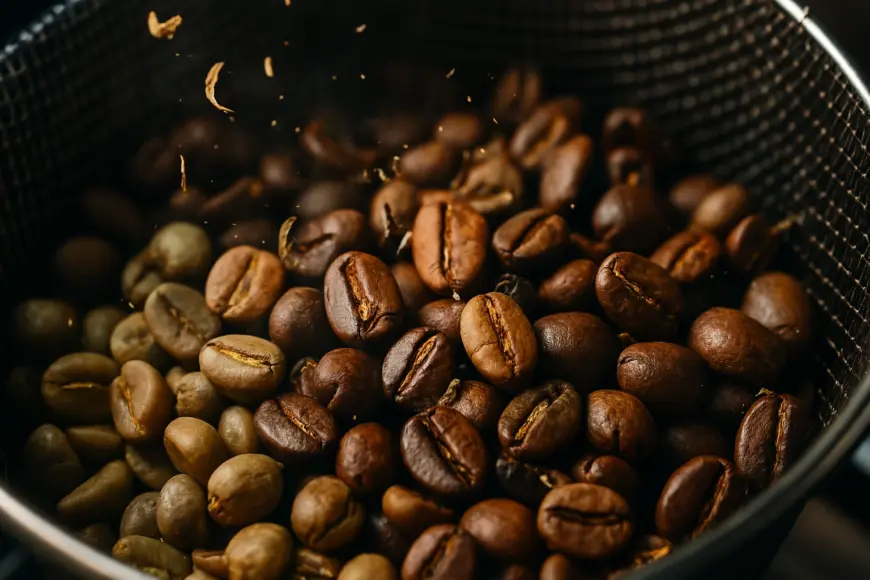
After a few minutes over the flame, beans begin to puff and make a “crack” sound—this is known as the first crack.
Keep roasting and you’ll hear a second series of sharper cracks, the second crack.
These audible cues are crucial—they determine the roast level of your beans.
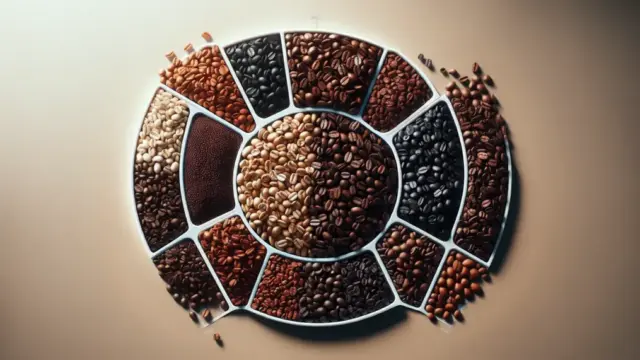
Roast levels are generally categorized as follows:
- Light roast (right after first crack): Bright acidity and a light body
- Medium to City roast (between first and second crack): Well-balanced and aromatic
- Full City to French roast (after second crack): Rich bitterness and bold depth
To find your ideal roast, take notes and make small adjustments with each batch.
Avoid burning the beans or over-roasting.
With practice, you’ll learn to recognize the aroma peak—that magical point when the beans are just right.
Storing and Preserving Flavor After Roasting
Even the most carefully roasted beans can lose their flavor quickly if not stored properly.
In home roasting, managing your beans after roasting is just as important as the roasting process itself.
This section covers what to do immediately after roasting and how to store your beans to maintain peak quality.
Handling Beans Right After Roasting and the Degassing Period
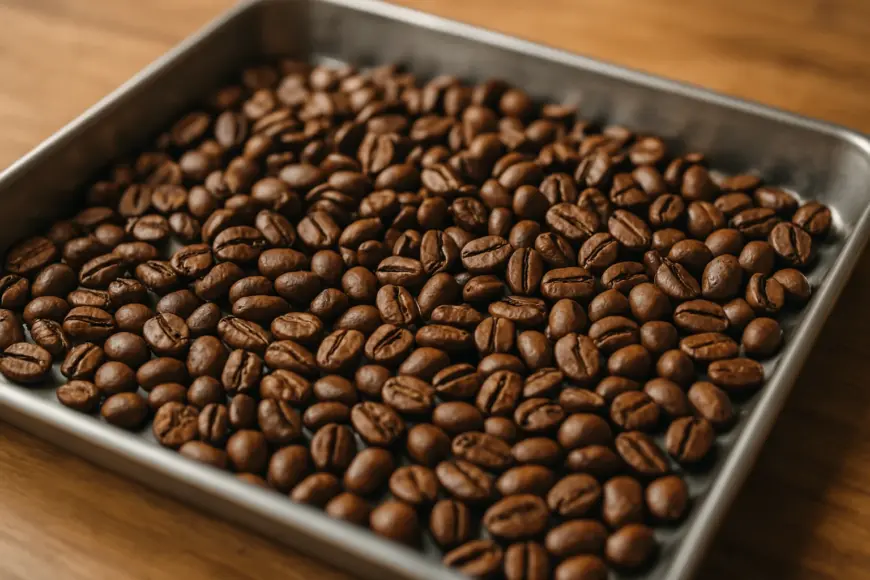
Right after roasting, rapid cooling is essential.
If beans are left hot, residual heat can cause over-roasting and break down the flavor.
Use a metal tray or mesh strainer and fan them to release heat quickly.
Roasted beans continue releasing gas (carbon dioxide), so sealing them in an airtight container right away is a mistake.
Instead, let them degas in a breathable container for 12 to 24 hours before sealing them up for storage.
- Cool beans immediately after roasting to avoid overcooking
- Let beans degas in a breathable container for 12–24 hours
- Flavors typically settle and improve after 2–3 days of rest
This degassing and resting process sharpens the aroma and creates a clearer, more balanced cup with fewer off-notes.
How Storage Containers and Environment Affect Flavor
There are four enemies of roasted beans: oxygen, light, moisture, and heat.
Keeping these away from your beans is the key to preserving their flavor and aroma.
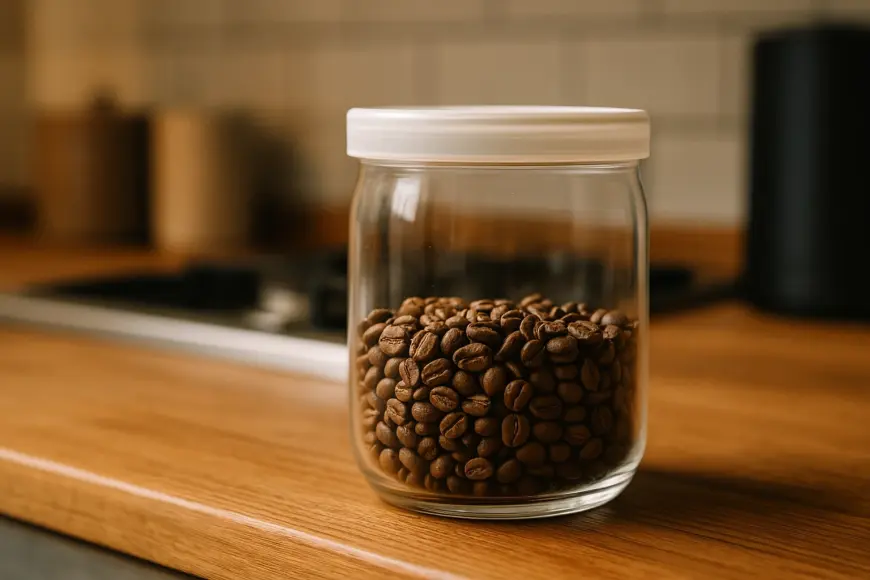
Choose a container that blocks light and seals tightly.
Coffee-specific canisters or degassing valve bags work well.
Keep them in a cool, dark place—ideally at room temperature or slightly below, around 15°C.
- Always protect beans from oxygen, light, moisture, and heat
- Use opaque, airtight containers for storage
- Avoid the fridge; store in a stable, cool location
Coffee beans are like fresh produce—their quality depends heavily on how well you manage their freshness.
In truth, the real challenge begins after roasting.

Taking Home Roasting to the Next Level
The charm of home roasting goes beyond just the act of roasting.
It’s about experiencing the subtle changes in aroma and flavor and refining your personal preferences.
In this section, we’ll explore how to enjoy roasted beans on a deeper level and how to discover your ideal roast.
How Aroma and Flavor Change with Roast Levels
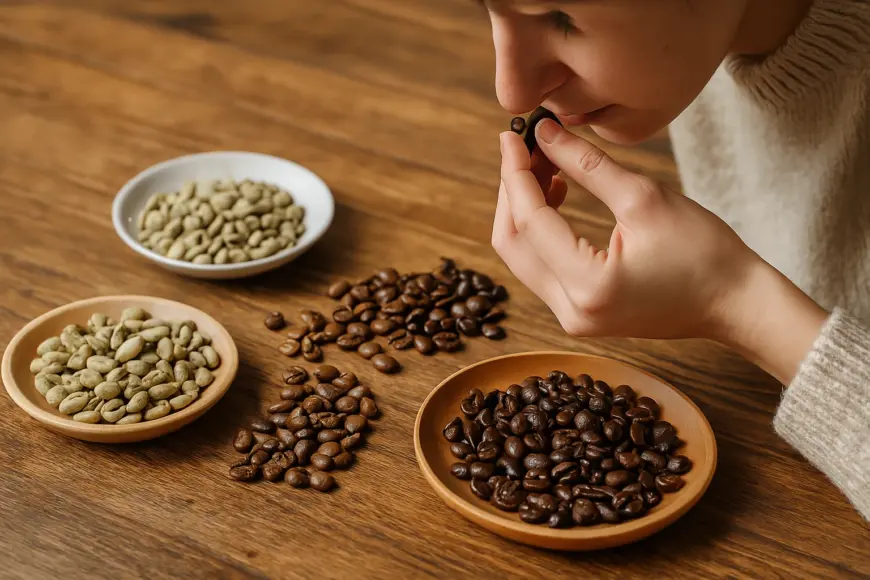
Different roast levels bring out completely different characteristics.
Light roasts are fruity and bright, while dark roasts are bold and bitter.
One of the greatest joys of home roasting is discovering these differences through your own senses.
Coffee aroma evolves at different stages—when dry, freshly ground, brewing, and finally when tasted.
Try observing the transformation at each of these points.
- Roasted beans continue to develop in aroma as they rest
- The scent released immediately after grinding is often the most vivid
- Pay attention to both the brewing aroma and flavor in the cup
Using your senses to engage with coffee turns every cup into a richer experience.
Home roasting is also a journey of developing your palate.

Tips for Finding Your Ideal Roast and Keeping Records
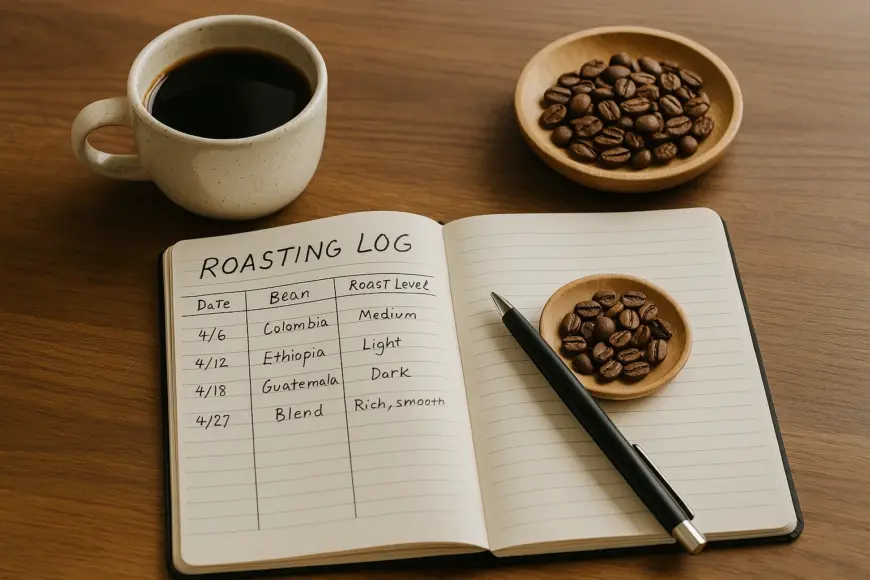
Roasting is hard to replicate exactly each time, which makes keeping records essential.
Temperature, time, heat level, bean variety—even the weather that day—should be logged to help you get closer to your perfect roast.
You can use a notebook or a digital app.
Develop your own criteria and don’t forget to note how each cup tasted.
Translating taste into words is a powerful tool for refining your skills.
- Make a habit of logging roast temperature and duration each time
- Record flavor impressions and aroma characteristics
- Once you identify your preferences, fine-tune your process from there
These records become your personal flavor map.
Both your technique and your palate will evolve over time—so enjoy the journey.
Conclusion: Discover the True Joy of Coffee Through Roasting It Yourself
Coffee is already a deeply enjoyable beverage—but when you get involved from the roasting stage, the experience transforms entirely.
From selecting green beans to roasting, storing, and tasting, handling the entire process yourself turns coffee from a drink into a lifestyle.
With just a bit of knowledge and effort, your daily cup becomes incredibly more satisfying.
- The flavor changes dramatically depending on bean selection and roasting style
- Post-roast handling is a critical factor in preserving great taste
- Observing aroma and flavor with all five senses is the heart of home roasting
- Keeping records and observing trends brings you closer to your ideal flavor
Why not discover your own one-of-a-kind coffee flavor?
We’d love to hear your thoughts and questions—feel free to share them in the comments!








Comment